Nobody eats with their eyes any more. They eat with a phone screen, three seconds before deciding whether to book you. Bad photography does not make your food look worse — it makes your prices look wrong.
Most restaurants commission food photography once, at opening, and then live off those images for four years. By year two the menu has changed, the dining room has changed and the photographs are selling a restaurant that no longer exists.
Here is what we tell clients before they book a shoot.
1. Decide what the photograph is for
A picture for a delivery platform, a picture for Instagram and a picture for your own website are three different briefs. The delivery shot has to be legible at thumbnail size. The Instagram shot has to survive being cropped square. The website shot has to hold up at full width on a desktop screen. Shoot for the format, not for the album.
2. Natural light, almost always
Side light from a window will flatter almost any dish. Overhead restaurant lighting will not: it flattens texture, throws yellow onto white plates and puts a hard shadow exactly where the food is. If you have to shoot in the evening, take the food to the light rather than the light to the food.
3. The angle is decided by the dish, not by the trend
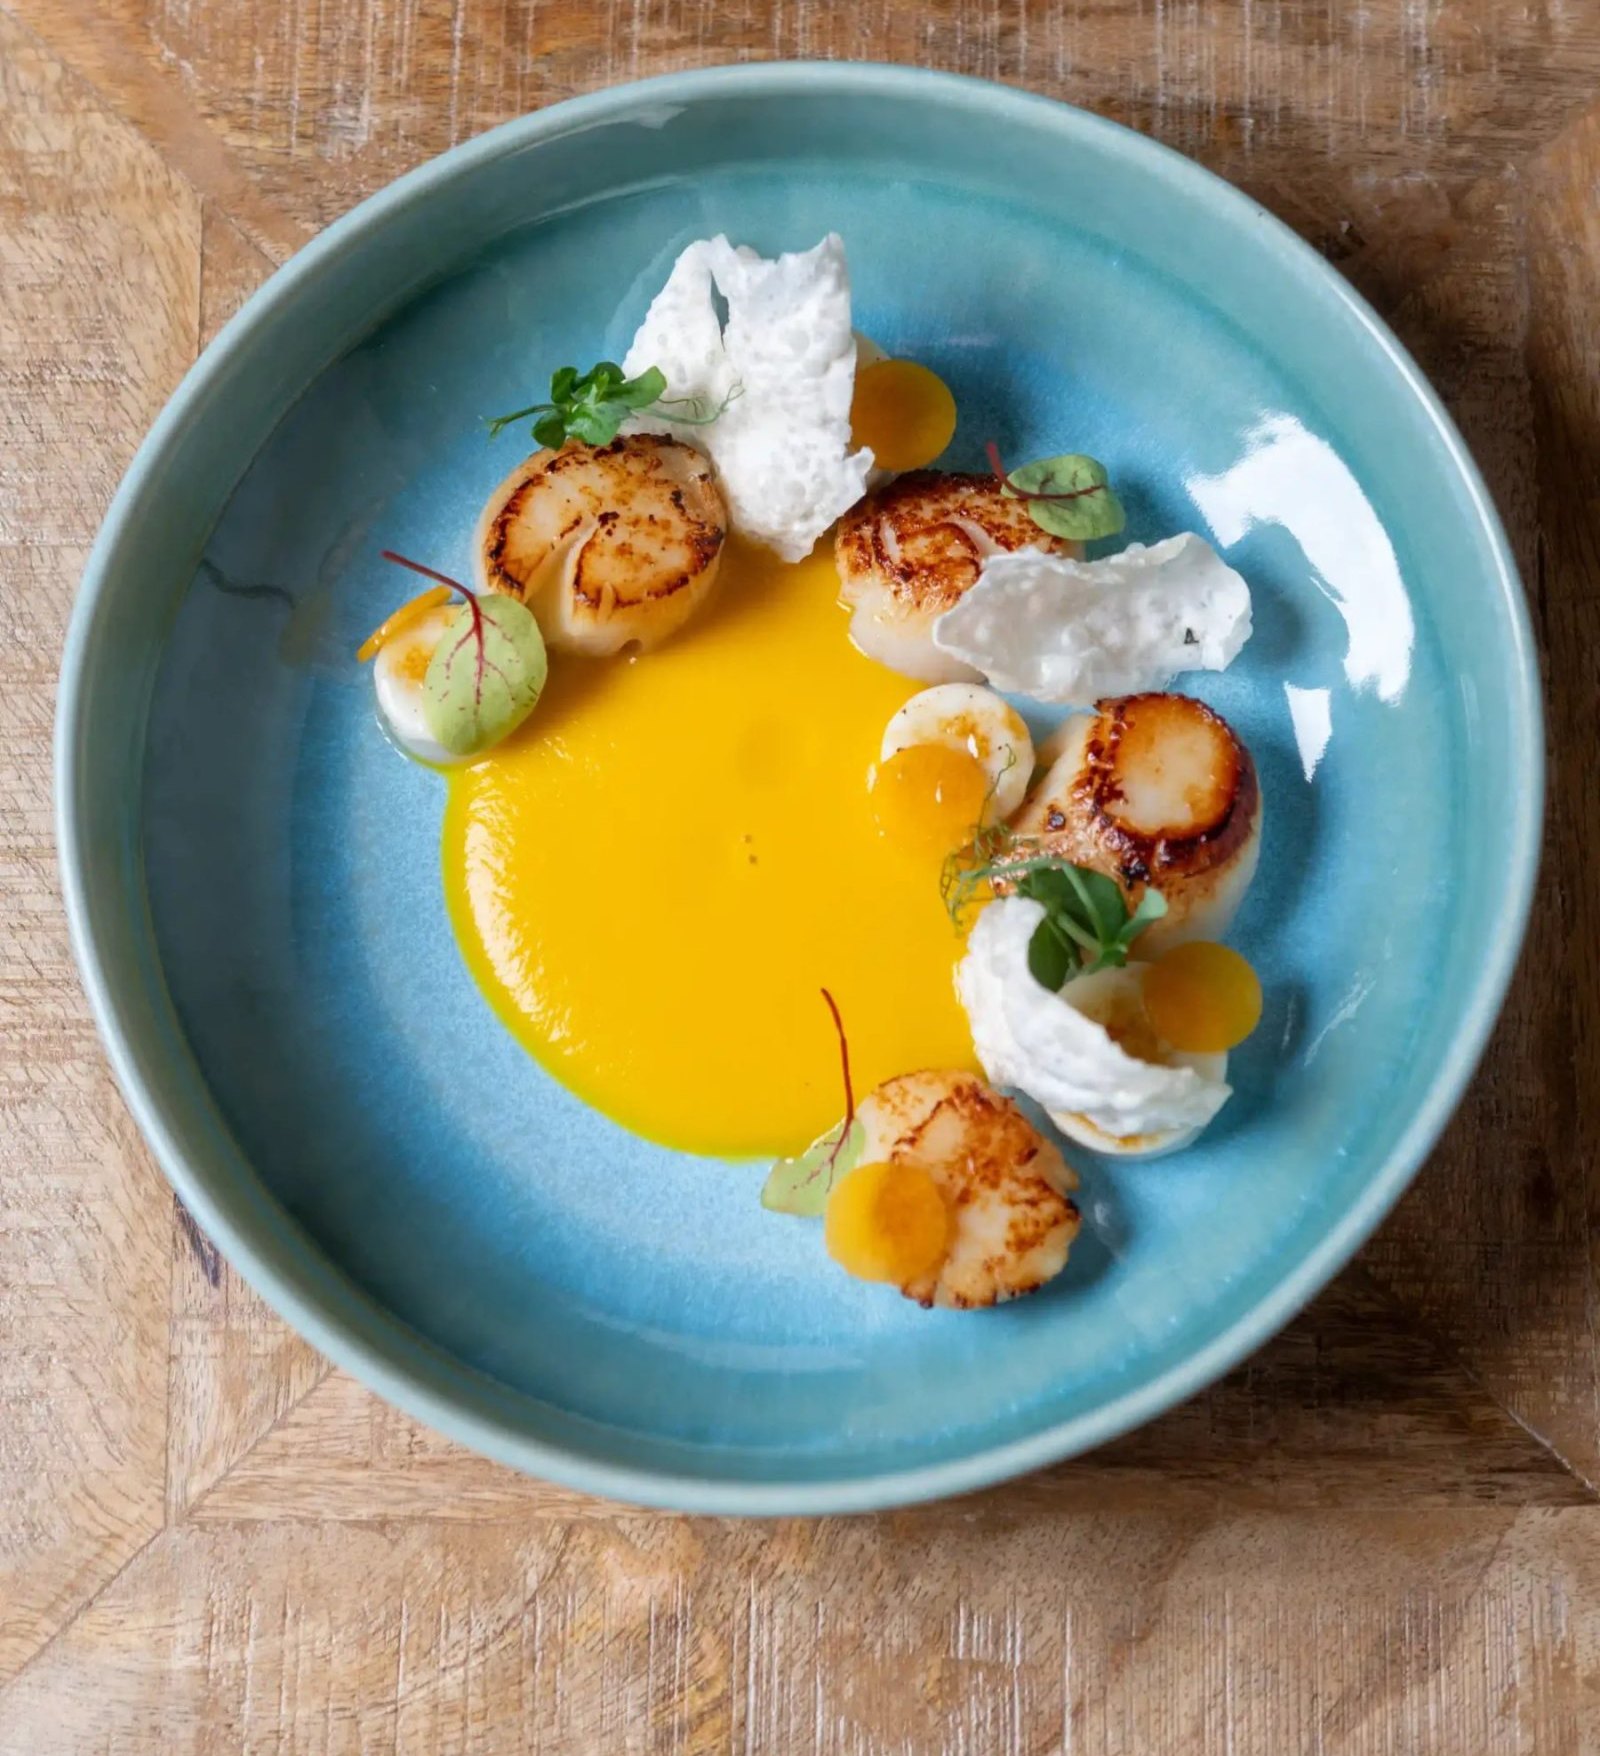
Flat lay works for anything built on a plane: pizzas, boards, spreads, bowls seen from above. A three-quarter angle works for anything with height. Straight-on works for burgers, layered desserts and glasses. Shooting everything from above because it looks good on a grid is how you end up with twelve photographs of brown circles.
4. Style the plate for the camera, not for service
The camera loses about a third of the contrast and most of the smell. What reads as generous on the pass reads as mean in the photograph. Slightly more sauce, slightly more height, herbs placed rather than scattered. It is not lying — it is compensating for what the lens takes away.
5. Clean the plate. Then clean it again
A fingerprint on the rim, a drip on the edge, a crumb in the wrong place: invisible in the dining room, impossible to ignore at 2000 pixels wide. Keep a cloth and a cotton bud on the table during the shoot.
6. Shoot the room too
People do not choose a restaurant by the food alone. They want to know what it feels like to sit there: the light, the tables, the people. A gallery of twenty dishes and no room is a menu, not an invitation.
7. Keep the colour honest
Heavy filters are the fastest way to lose trust. If the dish arrives and it is a different colour from the photograph, you have won a visit and lost a customer. Correct the white balance, leave the saturation alone.
And then there is the other kind of editing
AI tools will now fix impossible light, remove a crumb, kill a reflection or extend the background so the shot fits a vertical format. That is retouching, and it is fair game: the photograph still describes the dish you serve.
The line is where the image stops describing what reaches the table. Generating a plate that does not exist, adding an ingredient that is not in it, or giving it a sear the kitchen cannot deliver is not editing. It is advertising a different product. And nobody needs to catch you: the customer does it, in the exact second the plate lands next to the photograph that brought them in.
Three rules. Retouch, do not generate. Keep the untouched original, because it is your evidence. And if you do use a fully generated image, use it as atmosphere, never as the dish on the menu. Several platforms already read image metadata and label AI-generated pictures, so discretion has a short shelf life.
8. Think about where the text goes
Many of these images will end up with a headline, a price or a logo on top of them. Leave usable empty space when you shoot. Cropping later always costs you something.
9. Shoot in batches, and plan the batch
A single session with the whole menu on it produces exhausted food and rushed pictures. Group by light, by colour and by station, and accept that the last three dishes of any session are the worst of the day.
10. Budget for reshooting
Photography is not a fixed asset, it is stock that goes off. Plan a refresh with every significant menu change, and at minimum once a year. It costs less than the reputation of looking dated.
Your photographs are the only part of the restaurant that most people will ever see. Treat them as part of the offer, not as an expense.
And one thing to avoid
Do not put a photograph of every dish on the printed menu. It works in fast food and on delivery apps, and it lowers the perceived price of everything else. Photography sells the restaurant; the menu sells the dish. If the imagery no longer matches what you serve, it belongs inside a marketing plan.